Monday, 24 September 2012

Arkham City PhysX Multi GPU Comparison

So I see a lot of people saying no games use PhysX and that it's actually something of a novelty that never really took off just like EAX by Creative Labs not too long ago.  Seeing how phenomenally the recently released Borderlands 2 has made use of it I have to disagree with sceptics.  It isn't perfect, but it definitely makes for a much prettier and more realistic environment.


Above you see my set up of two GTX670 SLI with a GT430 and GTX480.  Unfortunately I no longer have access to the latter 2 cards used in this test, therefore I can't run a test measuring Borderlands 2 performance.  I do however have results testing Arkham City.  I've chosen to test under DX11 with everything else turned to maximum setting (obviously PhysX cranked all the way up as well) vsync off at 2560 x 1440 with 4xAA because it is the most intensive scenario within the limits of my system, and more importantly, its what I'd play the game using.


Click to enlarge.

The results were quite interesting.  The minimum fps was quite sporadic across the various combinations, but were consistent through multiple runs of each.  At first I thought it may have something to do with the two cards connected using an SLI bridge.  But after using multiple bridges and a test of dual GTX670s with one dedicated to PhysX and without a bridge, there were no differences in the minimum fps.  What also threw me off was the fact that a single GTX670 + GT430 for PhysX had just as low a minimum.  These must be anomalies though as there was never a point where I'd see it running at 1 fps for any sustained period of time.

Anyhow, apart from that little anomaly, the average frames and maximum frames give a much clearer indication of PhysX performance.  Running with a single GTX670 and offloading the PhysX to the CPU was surprisingly playable (Core i7 3820 @ 4.6GHz).  It would drop below 30 more often than I would deem acceptable but it definitely wouldn't come to a sustained crawl at any point.  But moving on to the more realistic usage scenarios and we find that a single GTX670 does a fair bit better on average than CPU PhysX.  Adding a dedicated PhysX card offered extremely incremental advantages over a single GTX670 with a GT430 actually lowering performance by a couple fps on average while the GTX480 showed 1-2fps increase over the lone card.

Moving onto SLI scores and we see a similar pattern.  Whilst the averages remained fairly lacklustre the maximum did  jump about 20fps.  Adding the GT430 to the SLI GTX670's again saw a lowered average score whilst showing no real world benefit.  The GTX480 on the other hand helped a hell of a lot more in SLI pushing the average above the 60fps threshold and the maximum above 100fps.

In conclusion, those opting for a dedicated PhysX card, especially the AMD users, don't bother with any card that would run significantly lower than your main GPU.  The GT430 did no good for PhysX at all and it'd be better saving that money and going single GPU.  For SLI users, a strong dedicated PhysX card does help, but the extra heat, noise and power draw from having a GTX4/5/670-80 solely for that purpose, not to mention the extra wad of cash you'd be without, is definitely relative to what you value most.

My pick?  No dedicated card at all.  But if you've got SLI and can afford it:
One of these might help =)

Saturday, 8 September 2012

Build 99% complete


So the last thing I needed to set up the X79 came in and I was set to move everything over.  I took advantage of having no motherboard in the chassis and nibbled away the rear grill as per ehume in the air flow thread.

The nibbler is actually quite easy to use.  The blade runs at a 180 degree angle perpendicular to the surface being cut as opposed to the 90 degrees that a pair off scissors would.


A downside to this is that its hard to see if your cuts are neat and straight.  I made a little mess of things.  I'll just throw some U-channel moulding on this later on instead.
Line up of the PCIe cards I would be testing on the new motherboard.  The Auzentech Hometheater HD turned out to be completely dead on the analogue ports.  I was foolishly hoping it was some sort of OS error on my previous build.
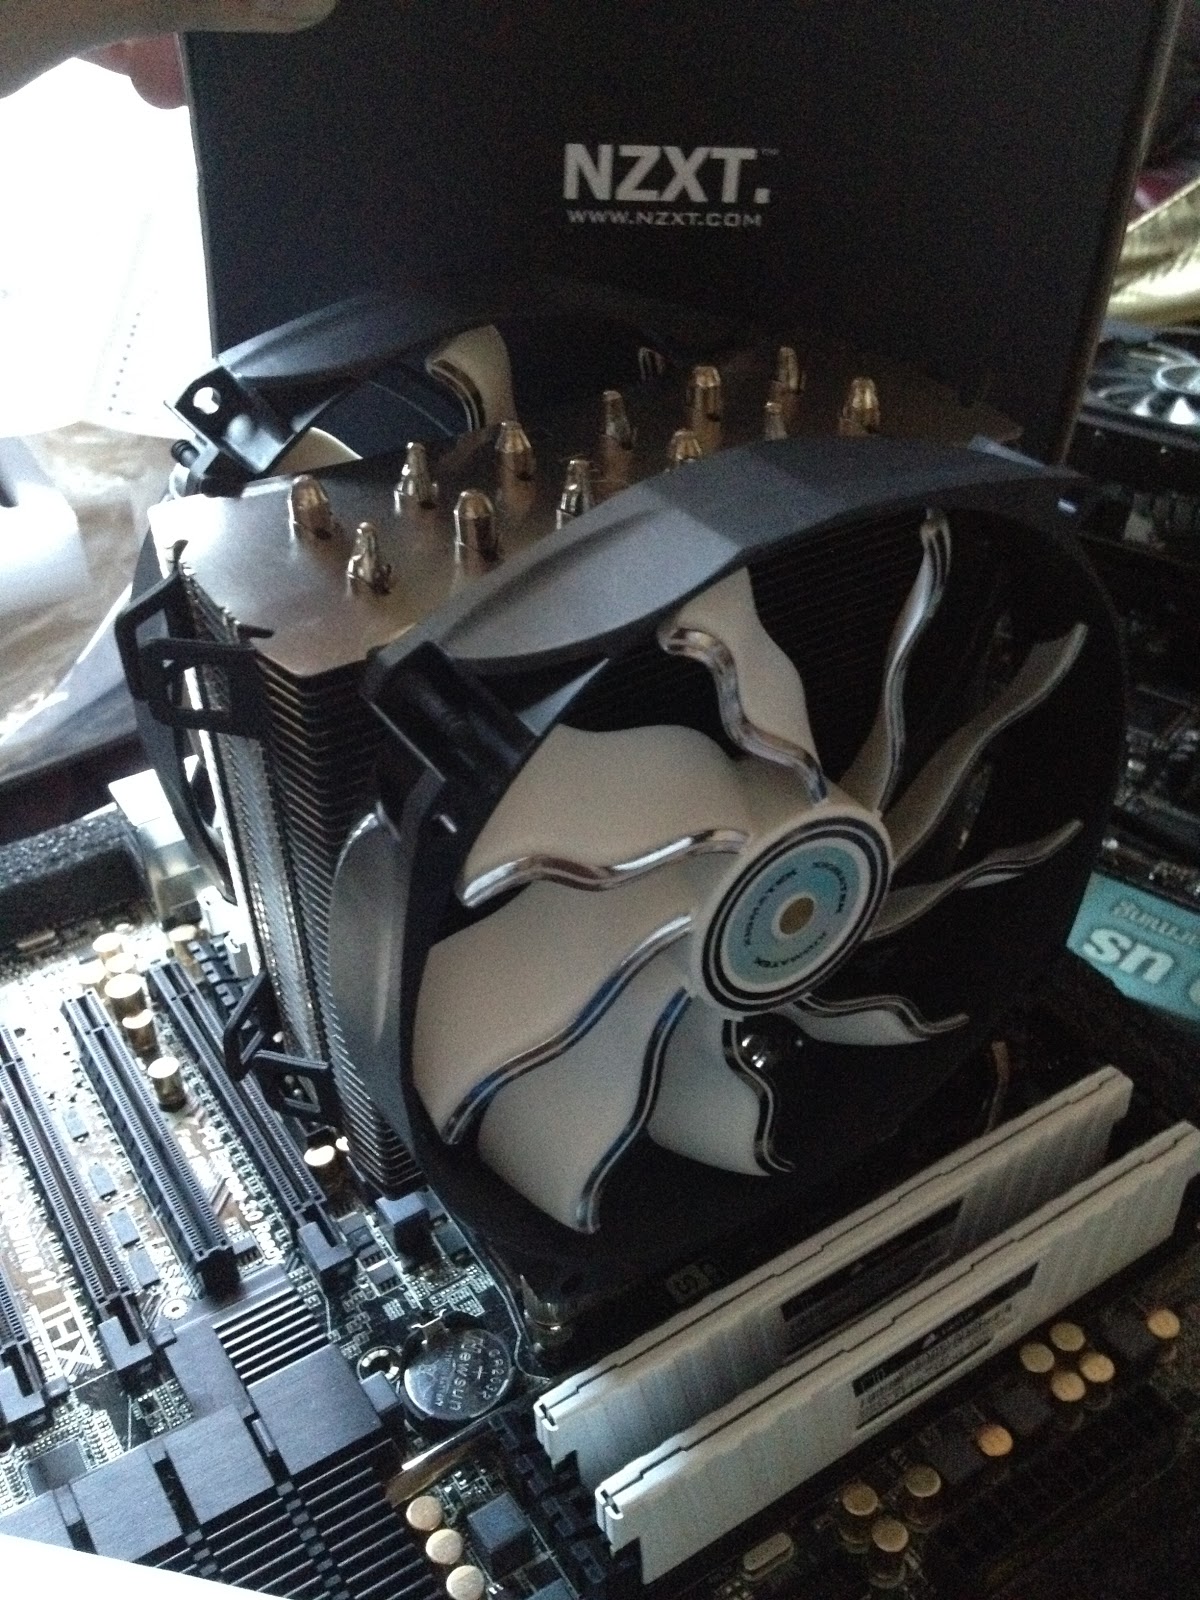
The monstrous NZXT Havik 140 with stock fans replaced with a couple of pwm Xigmatek XAF-F1452.  Pretty much the same fan with some silver accents.  It also seemed a tad noisier with a mechanical whirl amongst the air movement.  At the lowest speed of 800rpm its nonexistent but at the peak of 1300rpm it is there.  Not that its incredibly audible but the difference can be observed if you are listening for it.

The 2011 mounting screws save a tonne of time with this cooler as well as there is no need for a backplate whatsoever.
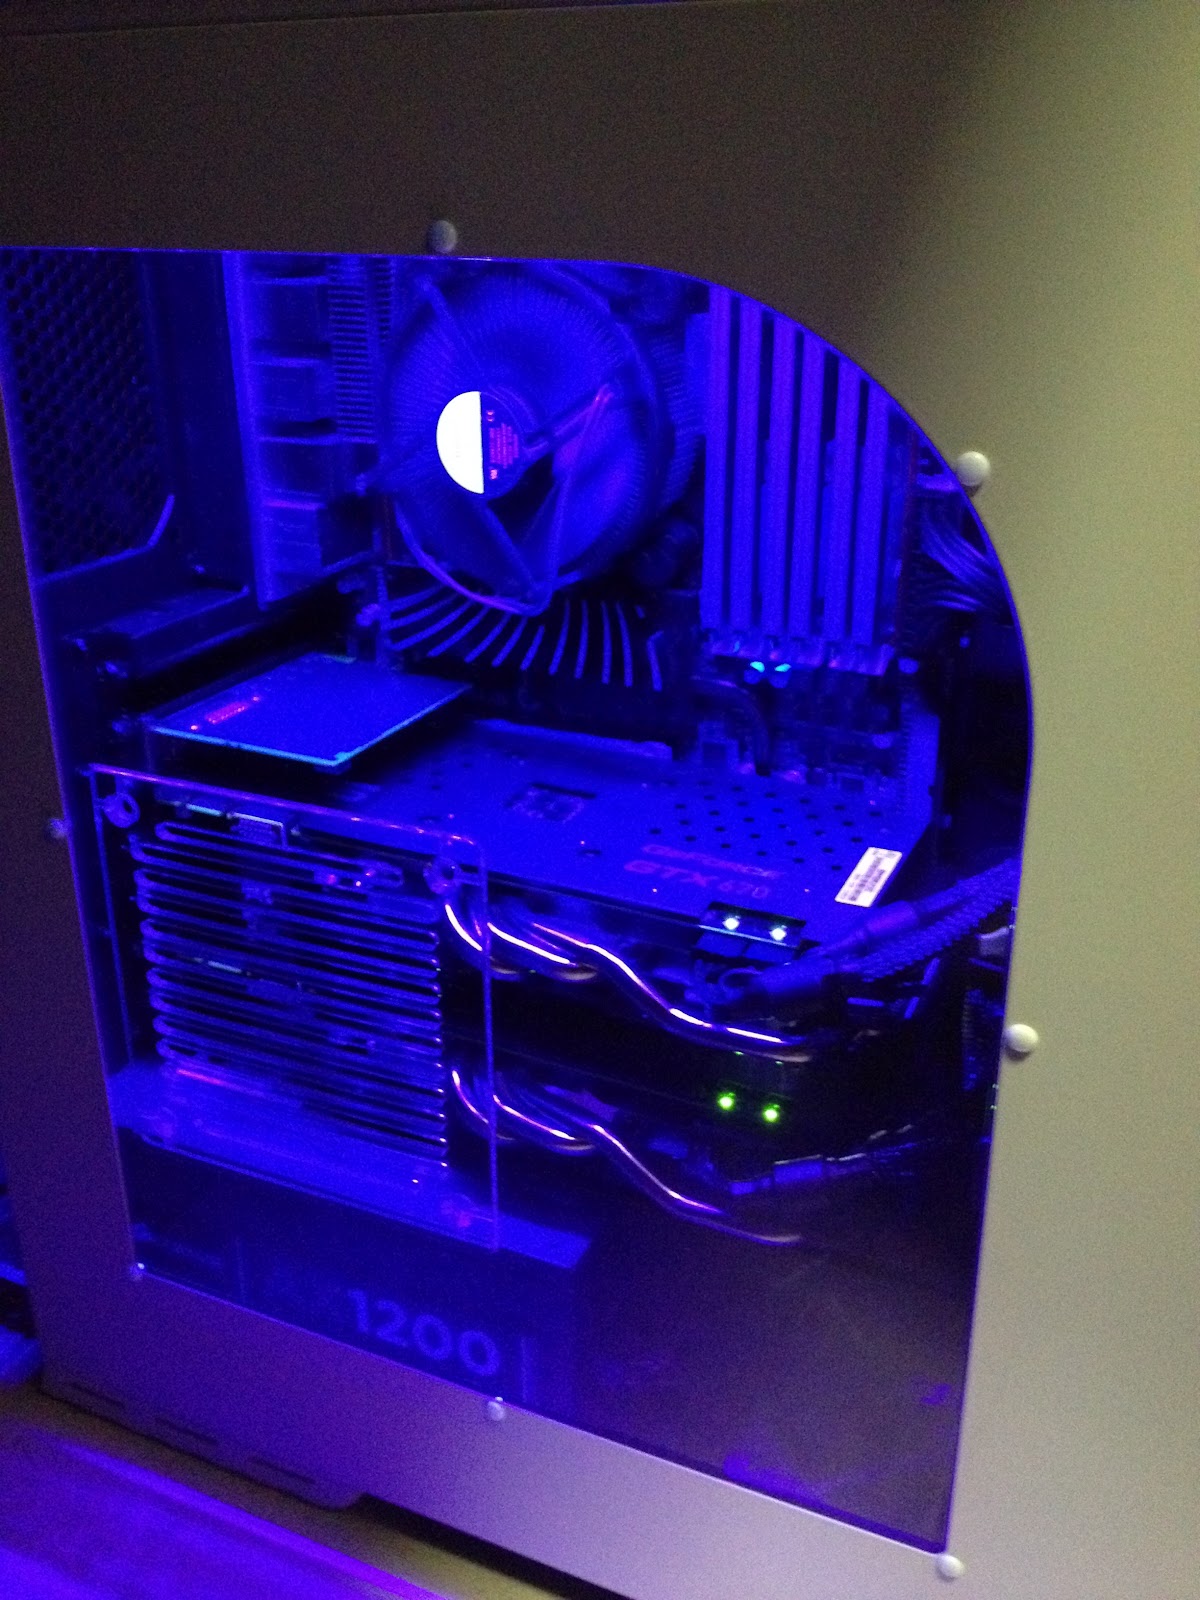
Here is pretty much the final build internally, although some more lights will be added later and the cables could be managed a little better.  I was wanting a way to show off the SSD a little more but it gets covered up by the side panel anyway.


A little something I had planned to test for a long time. My Blackmagic Intensity Pro mounted into the vertical expansion slot of my chassis.  The slot is usually reserved for extra rear USB slots or fan controllers but I figured that with the size of this card, it might just work.  I used a PCIe riser to get the card to have its signal sent to the motherboard.  It works like a charm! =D


The side panel fitted with the original Havik 140 fan mounted to the side as an intake for the multi GPU setup.


Money shot.  I plan to use smaller cold cathodes instead of the long LED so that I can better highlight the white UV components. 

Wednesday, 29 August 2012

Spec Ops: The Line Anti Aliasing NVIDIA

UPDATE:  After completing my PC upgrade I installed this again with the same settings as below for AA.  I noticed it would flicker every few seconds as mentioned below when I turned on SGSSAA.  The flicker is a result of the vsync cap being hit and then dropping a frame momentarily.  For some reason the MSAA that is forced bugs out for that one dropped frame causing any aliasing to appear for that split second, hence the flickering.  To fix this go back into Inspector and set a frame cap at your screen refresh rate -2fps.  So for mine it is capped at 58fps.  Technically this means that you could have SGSSAA turned on without having any flicker, but in my experiments it actually looked worse than 4xMSAA + FXAA.

Here are my settings:


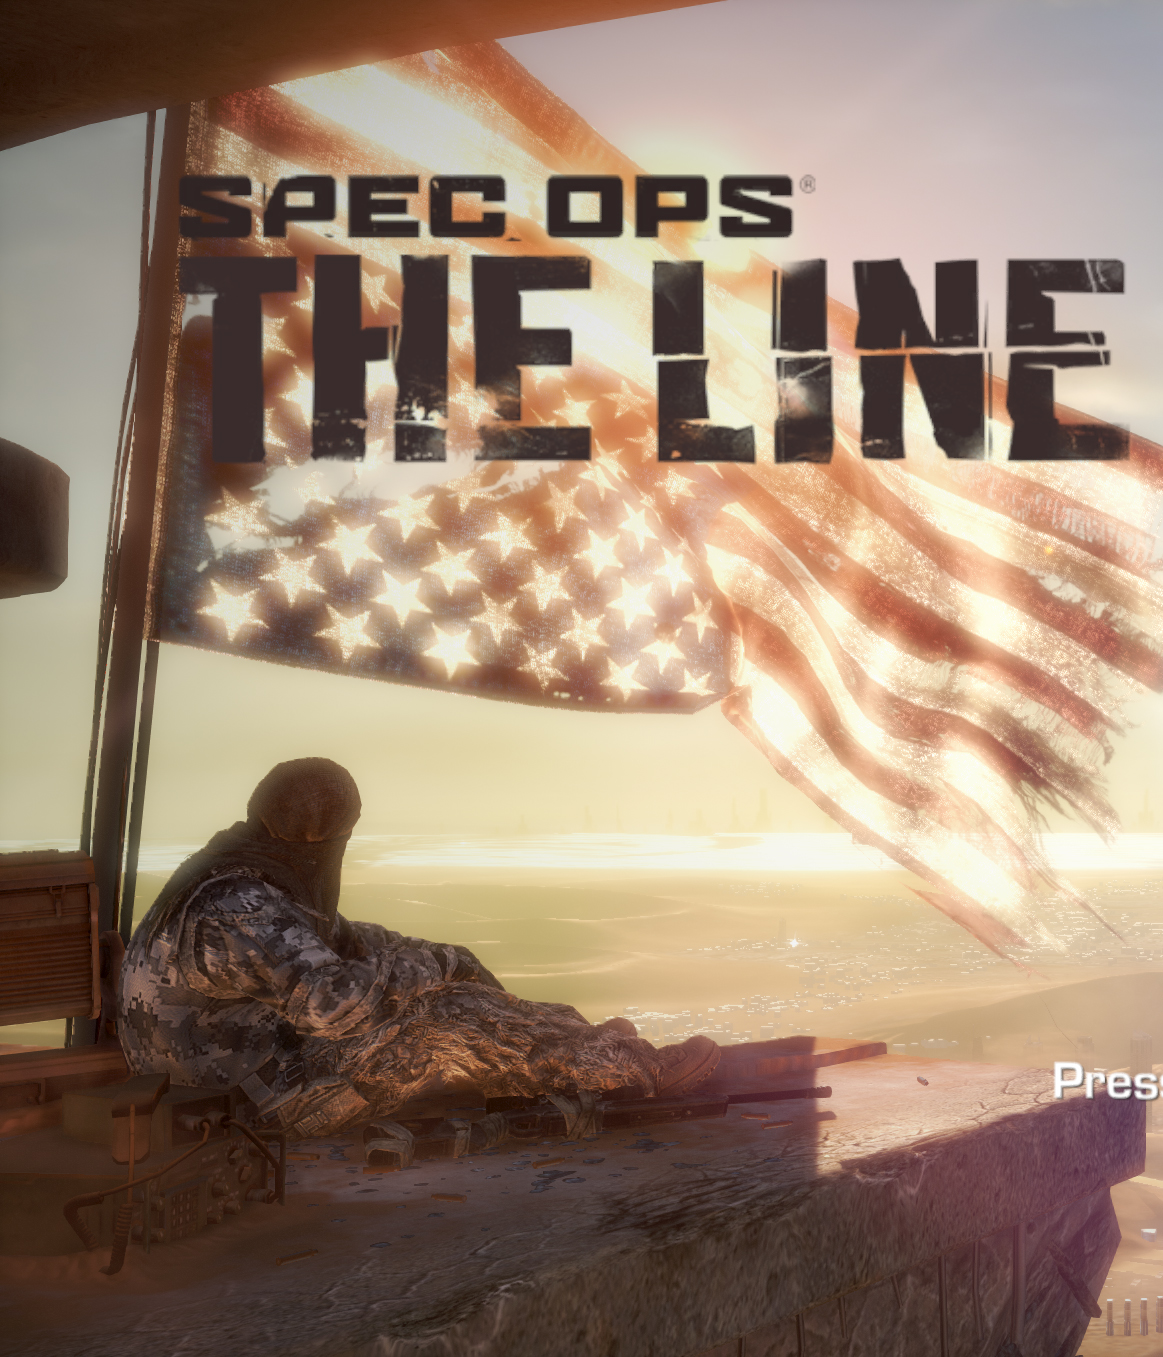
Spec Ops has no in game AA options, and whilst FXAA works from the  NVIDIA control panel, it could use some MSAA. 

I've done a quick google search and nothing has pointed to the AA bit for ME2 and ME3.  So here it is (click for enlargement):


No AA


FXAA


 4xMSAA


 4xMSAA + FXAA


Use AA bits 0x080100C5 for the Spec Ops profile in NVIDIA Inspector and add then force your choice of MSAA in.  I used 4x.  I also added FXAA to smooth out whatever was left.  Turns out much better than either by themselves.  Look closely at the flag pole and ropes to see the biggest differences.  DO NOT use SGSSAA as it causes a flickering mess of things.  If you need transparency anti aliasing just use 4x supersampled instead.

Thursday, 23 August 2012

Busted light switch

Ok so in an attempt to allow my cm 690 II's light switch to affect my UV LED, I decided to solder and crimp some molex cables together with some supplies I got from moddiy.com

Ok so after removing and desoldering the initial connection I was fine.  Soldering the new connection was a PITA big time..  Reading and watching instructions and then trying to replicate it did not work.  The wire I was using wasn't heating up high enough for the tin to melt onto the connection.  I ended up having to melt the tin and try to manipulate this blob as it fell onto the connection I was trying to make.  Anybody who has soldered before will know that this is pretty much fail.

Anyway after a good 40 minutes I manage to get a decent connection that I was happy with.  I then shrunk the heatshrink and it looked great!  I couldn't be more pleased with how my first efforts looked.  Then I tested it.  SUCCESS!  The UV would now turn on and off at the click of the switch.  At this point I was feeling pretty good about myself.  I decided to try and plug the original fan light that the switch was meant for.  I felt a sudden jolt through my body and heard a zap bang at my fingertips. The cable fried.  It set on fire and I gave myself a mild electric shock.  Had I not been wearing my Havaianas it could've been much worse.

After I got the image of an actual fire inside my computer out of my head, I proceeded to place the switch back in its original slot.  Here is where shit starts to happen.  So the cable was too short to have the molex heads hang behind the motherboard tray.  OK no biggie I'll use a molex extension.  So I get it in there, and as I'm trying to get the top to close, I see the ground cable I crimped come loose.  F*CK....  At this point I'm already pretty over it.  I pull it out to attempt a recrimp.  I hear a little snap as I pull it but thought nothing of it yet.  As I sit down and prepare to fix the loose cable end, I see the little pin that I soldered the wire onto fall off.  That was the snap, and that was the end of my first endeavor into cable making.  The switch is now dead.  Until I can find a replacement, my lights will remain always on.  I may just switch to white LEDs.  Ah well.

Also I'm fine.  Just a little burn on my finger but apart from that I think the fear of seeing flames ignite inside my case was the most I suffered from this ordeal.

Here's hoping for a smooth installation when the Extreme11 arrives!

Wednesday, 22 August 2012

PCIe 3.0 vs PCIe 2.0 scaling

Interesting results from some uber high end builders in this thread:

PCIe 3.0 vs PCIe 2.0 SLI scaling

Just ordered in the rest of my pc parts.  Settled for (if you can call it settling =P) the Asrock Extreme11.  Just waiting for the shop to get it in then I'll go and pick it up.  Will post final pics of build when they're ready.  After seeing those results I'm glad I went with it.

Tuesday, 31 July 2012

Current setup

Just a quick pic of how my current setup looks.


Going for a Black to White look from left to right.  As you can see, I'm still looking for a motherboard =P

Monday, 23 July 2012

Impatience and feedback on GK104

So yesterday I got sick of waiting for the inevitable upgrade of my motherboard and CPU and decided I would just "port" my old computer Vesy into her new body retaining what I could and beefing it up with the new parts.  I started working on it at about 11am and finished completely at about 11pm.  Here are some pics of the process:


 First tower I ever built in.  Won't make the mistake of buying just coz its the only one accessible.
The internals.  What a mess....

 Here's my old Asus P6T Deluxe v2.  Not a bad board.  It's missing SATA III and USB 3.0 which are about the only things that are worth upgrading for.
 Vesy, meet your new body!
 Set up the motherboard and seated the GPUs.  Made an absolute NOOB mistake of not putting in the raising screws onto the chassis before I seated it.  Had to redo that.  As you can see there's still some daylight at this point.
 Here we have it set up cables and all.  Sun is now gone, hence flash.  So neat, so clean.  Don't mind the lone HDD.  That's gonna be gone the moment I get an SSD.
 Door closed and all assembled.
 Vesy lives!!!  The UV light was probably a bit much.  The idea was to light up the white parts of the internals.  Unfortunately there isnt much white yet.  Not until the upgrade anyway.  Also seems that not everything white will light up.  Need to figure out lighting at a later point.
At this point, the computer started but there was no monitor signal.  This was about 9pm.  After another couple hours of trouble shooting, it ended up being as simple as removing the motherboard battery for a few seconds.


So my GPU performance is now enormous.  SLI was a little tricky to get my head around but its all good now.  The GTX670 is amazing.  It has HD Audio bitstreaming as well as not having the silent stream issue that previous nvidia cards suffered from.  Some games still see some slowdown but I suspect the SLI profile isn't kicking in.  BF3 singleplayer is a constant 59fps though which is perfect.